When it comes to enhancing your driving experience, installing a backup camera can make a significant difference. Imagine having a clear view behind your vehicle at all times, aiding you in tight spots and tricky parking situations. The added safety and convenience a backup camera offers are undeniable. But how exactly does one go about installing one? Stay tuned to discover the crucial steps and considerations that will help you seamlessly integrate a backup camera into your driving routine.
Benefits of Installing a Backup Camera
Installing a backup camera enhances your vehicle’s safety and convenience. You gain increased visibility, especially in blind spots, making it easier to navigate tight spaces and park with precision. No more straining your neck to check behind you or worrying about accidentally hitting objects or pedestrians while reversing. The camera provides a clear view of what’s behind you, helping you avoid potential accidents and ensuring the safety of those around your vehicle.
Additionally, a backup camera can save you time and money by preventing costly collisions. It allows you to maneuver confidently in various scenarios, whether you’re backing out of a crowded parking lot or navigating through a busy street. With the camera’s assistance, you can park with ease and efficiency, reducing the risk of minor bumps and scratches that can lead to expensive repairs. Overall, installing a backup camera is a simple yet effective way to upgrade your vehicle’s safety features and enhance your driving experience.
Choosing the Right Backup Camera
When selecting the right backup camera for your vehicle, consider key factors such as resolution, viewing angle, and wireless connectivity.
The resolution of the camera determines the clarity of the image displayed on your screen. Opt for a camera with at least 720p resolution for a sharp and detailed picture.
Another crucial aspect is the viewing angle, which determines how much of the area behind your vehicle the camera can capture. Look for a wide-angle lens, ideally 120 degrees or more, to ensure you have a broad view of your surroundings.
Wireless connectivity is also essential for ease of installation. Choose a camera that offers wireless transmission to avoid the hassle of running cables through your vehicle.
Preparing for Installation
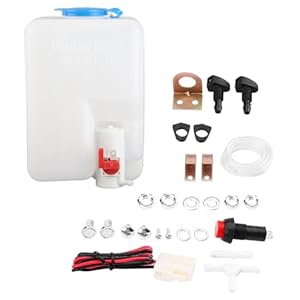
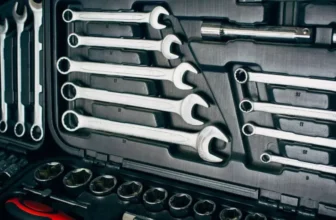
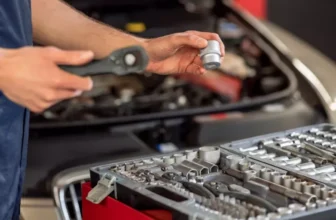
Are you ready to begin setting up your vehicle for the backup camera installation? Before diving into the installation process, it’s crucial to gather all the necessary tools and equipment. Start by making sure you have the backup camera kit, which typically includes the camera, wiring harness, and monitor. Additionally, you’ll need basic tools such as screwdrivers, pliers, electrical tape, and a drill.
Next, take the time to read through the installation instructions provided with your backup camera kit. Understanding the steps involved will help you prepare mentally for the task ahead. It’s also a good idea to familiarize yourself with your vehicle’s wiring system. Locate the backup light power source, which you’ll need to connect the camera to for it to activate when you shift into reverse.
Lastly, consider where you want to mount the camera and monitor. Ensure they’re strategically placed for optimal visibility without obstructing your view while driving. Taking these preparatory steps will make the installation process smoother and more efficient.
Step-by-Step Installation Guide
To initiate the installation process smoothly, first identify a suitable location for mounting the camera on your vehicle. Choose a spot that provides a clear view of the rear and is easily accessible for wiring. Popular locations include above the license plate, on the rear bumper, or on the tailgate handle.
Next, disconnect the negative terminal of your vehicle’s battery to prevent any electrical mishaps. Then, using a power drill, make a hole for the camera’s wiring to pass through from the exterior to the interior of the vehicle. Secure the camera in place according to the manufacturer’s instructions, ensuring it’s tightly fixed.
Afterward, run the camera’s wiring through the vehicle’s interior to connect it to the monitor. This may involve removing some interior panels for a clean and hidden installation. Once the connections are made, test the camera to ensure it functions correctly before reassembling any interior components.
Completing these steps meticulously will help you install a backup camera effectively, enhancing your driving safety.
Automotive & Tools