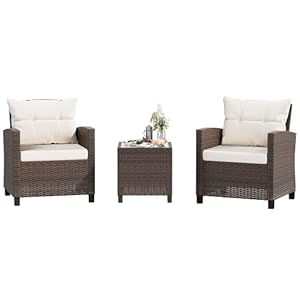
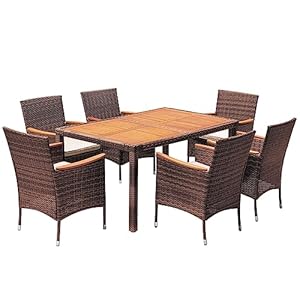
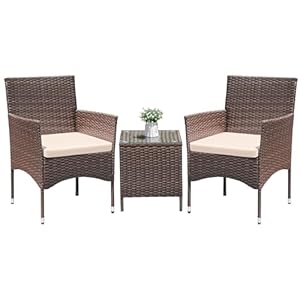
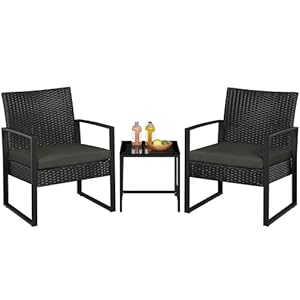
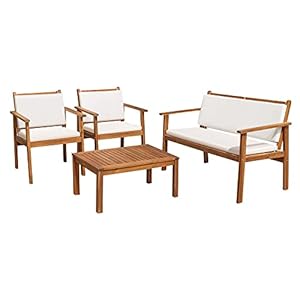
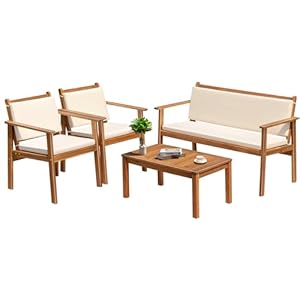
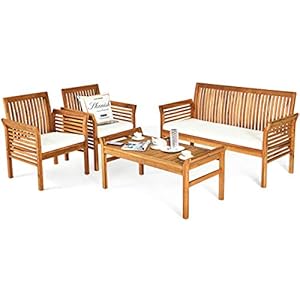
When updating your garden furniture, mastering the art of making your cushion covers can be a game-changer. Imagine seamlessly blending comfort with style in your outdoor oasis. By choosing the right materials and meticulously sewing them together, you can elevate your space without breaking the bank. So, the next time you step into your garden, picture yourself surrounded by newly covered cushions that reflect your unique taste and creativity.
Selecting the Right Fabric
When choosing fabric for your DIY cushion covers, opt for a durable material that can withstand outdoor elements. Look for fabrics labeled as outdoor or waterproof, such as polyester blends or outdoor canvas. These materials are resistant to moisture, fading, and mildew, making them ideal for garden furniture.
Consider the color and pattern of the fabric as well. Darker colors and patterns can help hide dirt and stains, keeping your cushion covers looking fresh for longer periods. Additionally, choose a fabric that’s easy to clean, either by wiping with a damp cloth or tossing in the washing machine.
Taking Measurements and Cutting Fabric
To ensure your DIY cushion covers fit perfectly, start by measuring your garden furniture cushions and then cutting the fabric accordingly. Begin by measuring the length, width, and thickness of your cushions. Use a measuring tape for accuracy. Add an extra inch to each measurement to allow for seam allowances and a snug fit.
Once you have your measurements, lay your fabric flat on a clean, spacious surface. Use fabric chalk or a washable marker to mark the dimensions of the cushion cover onto the fabric. Double-check your measurements before cutting to avoid mistakes. When cutting the fabric, use sharp fabric scissors for clean edges. Cut along the marked lines carefully and steadily to ensure straight lines.
Remember to cut two identical pieces for each cushion – one for the front and one for the back. Taking precise measurements and cutting the fabric accurately will set a solid foundation for creating your custom cushion covers.
Sewing the Cushion Covers
Start sewing the cushion covers by aligning the front and back fabric pieces with their right sides facing each other. Pin the edges together to secure the fabric in place before sewing. Use a sewing machine or needle and thread to stitch along the edges, leaving one side open to insert the cushion.
Ensure to backstitch at the beginning and end of each seam to secure the stitches. Trim any excess fabric and clip the corners to reduce bulk when you turn the cover right side out. Turn the cover inside out through the open side, gently pushing out the corners for a crisp finish.
After turning the cover right side out, press the seams with an iron to create a clean look. Now you have a basic cushion cover ready for your garden furniture. In the next section, we’ll discuss adding finishing touches to complete the look of your DIY cushion covers.
Adding Finishing Touches
After sewing the cushion covers for your garden furniture, consider adding finishing touches to enhance the overall look. One simple way to do this is by adding decorative elements such as buttons, tassels, or ribbons. These small details can elevate the appearance of your cushions and make them look professionally done.
Another way to enhance your cushion covers is by incorporating contrasting piping or trim. This can add a pop of color and create a more tailored finish. Additionally, you can experiment with different textures and fabrics to give your cushions a unique and custom look.
If you’re feeling creative, consider adding embroidery or appliqué to your cushion covers. This personalized touch can make your garden furniture stand out and reflect your individual style. Don’t be afraid to mix and match different techniques to create a one-of-a-kind design.
Garden